Wednesday, March 30, 2011

Trash Tuna Burgers and Eating Down the Fridge


This post is inspired my roommates, who are wonderful people and fantastic to live with, but are also 90% useless when it comes to cleaning out the fridge.  However, I think this works out well for me more often than not, since I can rescue food that the original purchaser has long since forgotten. 

Prime example: last night's dinner of tuna burgers constructed of things I am sick of looking at in the fridge.  There have been a few vacuum sealed packets of tuna languishing in the refrigerator door for at least a year, along with three or four different bottles of blue cheese dressing, two half-moldy lemons, exorbitantly old capers, and several baggies of breadcrumbs that I've made from salvaged stale bread.  Bam!  Dinner.


Trash Tuna Burgers with Tartar Sauce

Makes 4-6 burgers
Total time: 20-30 minutes (Active time 10-20 minutes)

For the burgers:
  • 12 oz (350g) tuna, canned or vacuum sealed in water, flaked and divided in half
  • 2-3 tablespoons blue cheese dressing (or mayo)
  • 1 tablespoon dijon mustard
  • 1 large egg
  • juice and zest of half a lemon
  • 1 clove of garlic, minced
  • 2 tablespoons capers (optional)
  • small handful of fresh dill (or parsley), chopped (optional)
  • 1 cup (150g) homemade breadcrumbs (just grind up a few stale pieces of bread in a food processor)
  • 2 teaspoons onion powder (or 1/2 a small onion, minced)
  • salt and pepper and hot sauce to taste
  • 1-2 tablespoons oil
For the sauce:
  • 1/3 cup ( 80mL) blue cheese dressing (or mayo)
  • juice and zest of half a lemon
  • 1 medium-sized barrel pickle, minced

Combine half of the flaked tuna with blue cheese dressing/mayo, mustard, egg, lemon juice and zest, garlic, capers, and herbs in a medium bowl and mix well.  Add the rest of the tuna, breadcrumbs, onion powder/onion, and other seasonings and stir until just-combined (do not over mix).  Form into 4-6 patties.

Heat oil in a heavy skillet and grill patties for roughly 5 minutes on each side until browned.

Combine sauce ingredients in an empty jar and give a good shake.

Serve patties with sauce on bread (or not) with something fresh and green.

Sunday, March 27, 2011

Crunchy Millet Pumpkin Spice Trash Granola


As much as I love Garden of Eden for cheese, it fails me tremendously when it comes to other snacks.  Yesterday, for example, I spotted a 4-cup container of granola for $8.  Outrageous!

I baked this in vengeance after I got home, wanting to both one-up the price gougers and clean out my pantry of some dry goods.  I personally think this is much better than store-bought granola, which I don't eat except as an ice cream topping because it's usually way too sweet and full of oil.  This recipe is cobbled together from a few sources and uses applesauce and mashed pumpkin as the main binders.  It's not very sweet except for the dried fruit, but still spiced, very flavorful, and the millet adds a really unique texture.

Options for clumpage and textural variety.  When you're using a granola recipe that relies on high moisture/low-fat binders, sacrifices are unfortunately necessary to find a balance between clumps and crunch.  Either you bake the whole grains until the moisture is driven off (high crunch, low clumps), or turn some of it into flour and add oil which will hold more moisture in (low crunch, high clumps).

25% clumpage / 75% crunch - Leave the millet whole and use maple syrup to sweeten with no added oil/butter.  This is the easiest route since you can skip a step, but you'll get quite a lot of rogue non-clumped millet accumulating at the bottom of your storage containers.  This has it's own appeal of course but is kind of difficult to eat with a spoon.  Very crunchy with a texture of crushed Nature's Valley bars.

For 50% clumpage / 50% crunch - Grind 1/2 of the millet to a powder and add 1-2 tablespoons of melted coconut oil or butter.  The best of both worlds approach.

For 75-100% clumpage / low crunch - Grind 1/2 of the millet to a powder, use honey as a sweetener, substitute 1/2 cup of the rolled oats for wheat germ, and add 2-4 tablespoons melted coconut oil or butter.  This version is super clumpy but will be rather soft and similar to the texture of crumbled power bars.


There is also a very fine line between "crisp" and "burnt."  If your oven is uneven or runs hot, don't let it get the better of you: rotate your pans halfway through cooking, watch them carefully, and don't forget to check the underside.  Evening out the edges with a spatula helps too, since thin areas or lonesome bits will turn black before you know it.


Crunchy Millet Pumpkin Spice Granola
 Makes 16 cups (probably more if you don't snack while you're making this)
Total time: 1 hour (Active time 20-30 minutes)

  • 5 cups (400g) oats
  • 1 cup (200g) uncooked millet, divided
  • 1 cup (80g) unsweetened flaked coconut
  • 1 1/2 cup (150g) nuts/seeds (I used a mix of sunflower seeds, slivered almonds, and whole flax seeds)

  • 1 tablespoon pumpkin pie spice OR a mixture like:
    • 2 teaspoons cinnamon
    • 1/2 teaspoon ground cloves
    • 1/2 teaspoon ground ginger
    • 1/2 teaspoon nutmeg
    • 1/4 teaspoon cardamom
    • 1/4 teaspoon allspice
  • 1/2 teaspoon salt
  • 2 teaspoons vanilla extract
  • 3/4 cup (185g) unsweetened applesauce OR
    • 2 small granny smith apples, diced (peel on), simmered for 10 minutes with a large splash of water, and mashed with a fork
  • 3/4 cup (185g) mashed pumpkin (fresh or canned)
  • 1/2 cup (100g) sugar
  • 1/4 cup (85g) molasses
  • 1/4-1/2 cup (80-160g) maple syrup or honey
  • 2-4 tablespoons (25-50g) melted coconut oil or butter (optional)

  • 1 cup in-shell toasted pumpkin seeds
  • 1-2 cups chopped dried fruit (raisins, dates, dried cranberries, prunes, apricots, banana chips)

Preheat oven to 300F/150C and line two baking sheets with parchment paper.

Grind half of the millet in a spice grinder or processor until it turns into a flour.  Combine ground millet with the rest of the first 4 dry ingredients in a large bowl.  Combine spices and wet ingredients in a separate medium bowl and mix well.  Pour the wet mixture into the dry bowl and mix well with a spatula until the dry ingredients are coated.

Dump the mixture out onto the prepared baking sheets and spread it out into a single layer (don't leave the edges skimpy or they are more likely to burn).  Bake for 20-30 minutes until the top is a light golden brown.  Check the underside after 20 minutes.

Remove baking sheets from the oven.  Carefully flip granola over using a large spatula in sections (you might want to swap the center sections with the edges to ensure even baking).  Sprinkle in pumpkin seeds and chopped dried fruit over the top and loosely mix in, but don't break up the clumps.  Bake for another 10-15 minutes until golden brown and crisp.

Cool completely on the baking sheets before transferring to airtight containers.

Friday, March 25, 2011

Tale of Two Cake Fails

Yes, I contributed to this.

As a foil to the savory sausage rolls that were served up for St. Patty's Day, I also baked close to 100 mini green velvet cupcakes.  The recipe I used is that of the lovely Janelle of Jaay's Thrilling Sweets. She spearheads a custom-order mobile bakery and is somehow able to whip up specialty cakes in a toaster oven and save the world from environmental disasters in the same day. 

These cupcakes tasted fantastic, all were eaten, and I typically didn't take any pictures.  But I think that is probably just as well since I tried to cheap out and use several-years-old reconstituted primary color gel-based dye instead of real deal food coloring.  Evidently I had more yellow than blue and the result looked a bit like bile or Ecto Cooler and had to be heavily frosted to hide the evidence.

So the green velvet cake made the following weekend was more of an aesthetic pursuit from the get-go.  My friend Jill suggested a recipe which sounded great that she had found in a book I gave her for Christmas that brings together our shared love of cocktails and baked goods.  However, when she said "SoCo" I for some reason heard "Kahlua", and it was all downhill from there. 

Exerpt from the recipe headnotes:  Say “Southern Comfort” and most people will roll their eyes and groan, “SoCo. I haven’t had that since college.”  But I was optimistic, since I have fond memories of drinking the sweet whiskey mixed with organic berry juice out of a tumbler with a built-in straw.  It also stated that SoCo  "lends itself to baking, yielding a subtle hint of whiskey without overpowering the other flavors."  Optimistic.

Now I will say that the cake part itself was gorgeous and had a really appealing deep shade of green (appealing if you like artificially colored things of course).  But the smell that gave me a gag when I first opened the mason jar Jill brought over pervaded the whole cake (and the house and my clothes the next day).  And instead of a subtle hint of SoCo, it in fact dominated the flavors of everything that I had eaten all week.

Problem number two was the cottage cheese-like frosting.  For the lumpy texture, I'll lay fault on myself for not being able to find the electric mixture.  But for the runniness and awful backwoods flavor I'm going to shift the blame onto a certain someone who decided that "when in doubt, add more booze" was a good rule to follow when baking.  Tsk tsk.

That being said, if you do follow the directions for the frosting correctly, and can actually enjoy the taste of SoCo without the buried traumatic memories of it that I evidently have, the cake's got a great texture to it and looks divine (and you can find the recipe on msn).

Instead and for posterity's sake, I'll leave you with Janelle's recipe which really is excellent and which you should also follow to a T and not stuff up by being cheap with the ingredients.  If you're not leaving the cupcakes outside all day, the cream cheese frosting would be delicious.  Otherwise you could do what I did and go the cooked route.


Green Velvet Cupcakes with Cream Cheese Frosting
Recipe from Janelle of Jaay's Thrilling Sweets

Makes about 30 cupcakes
Total time: ~60 minutes (Active time: 40 minutes)

For the cupcakes:
  • 2 1/4 cups (275g) all-purpose flour
  • 1 tablespoon unsweetened cocoa
  • 1/2 teaspoon salt
  • 1 1/2 teaspoons baking powder
  • 12 tablespoons (330g) unsalted butter, at room temperature
  • 1 1/2 cups (300g) sugar
  • 2 large eggs, plus 2 large egg yolks
  • 1 bottle (1 oz, 30mL) of green food coloring
  • 1 1/2 teaspoons vanilla extract
  • 1 1/4 cups (300mL) milk
For the frosting:
  • 6 oz (170g) cream cheese, at room temperature
  • 3 tablespoons (80g) unsalted butter, at room temperature
  • 1 1/2 teaspoons vanilla extract
  • 2 1/4 cups (260g) confectioners sugar

Cupcakes: Preheat oven to 350°F. Mix flour, cocoa, salt and baking powder. In a separate bowl, with an electric mixer, beat butter until creamy. Gradually add sugar and beat until light and fluffy. Add eggs, one a time, beating well after each addition. Beat in yolks, food coloring and vanilla. Alternate adding dry ingredients and milk, beginning and ending with dry ingredients. Beat just until all ingredients are incorporated.

Divide batter among cupcake liners. Bake until a toothpick inserted into center of a cupcake comes out clean, about 20 minutes. Cool in pans on wire rack for 10 minutes, then remove cupcakes from pans to rack to cool completely.

Frosting: Using an electric mixer on medium speed, beat cream cheese and butter until smooth. Beat in vanilla. Gradually add sugar and beat until easy to spread.

Tuesday, March 22, 2011

Apple Yogurt Spice Cake: An Excellent Frosting Delivery System


There are two types of people in the world:  those who love frosting, and those who love cake.  Perhaps a third type that I've only rarely encountered is the "just not that into sweets" person (never female), who isn't really worth discussing.  But frosting and cake lovers usually exist in equal proportions with a check/balance system perfectly tuned to yield no leftovers of either component.

I'm a long-time member of Camp Cake and am well-familiar with ritualistic frosting scraping at birthdays, but I do love a good lightly-sweetened whipped cream.  Unfortunately, cream icings don't hold up well to transportation, anything above room temperature, and definitely not entire days out in the sun.

But this one takes on the whipped cream texture excellently without any of the drama.  With a base of butter, regular sugar, and a thick cooked milk/flour mixture, it is only lightly sweet yet rich and creamy.  The perfect frosting for cake-lovers.

I made a full batch over a week ago based on a Pioneer Woman recipe, but it was way way too much for even 70-80 mini cupcakes (yes I was being skimpy because I hate too much frosting on cupcakes).  Instead of my first inclination (eating it with a spoon), I brought the second half to my parents' house and cobbled together a healthy-ish cake using a few different recipes to serve as a not-too-sweet, breakfast and dessert-appropriate frosting delivery system.

The cake itself is a great every day snack or brunch component, but not really a show-stopper until you add the frosting.  The next day it's even better when the cake becomes super moist and the spices really get a chance to develop.


Apple Yogurt Spice Cake

Makes one 9" (23cm) square cake
Total time: 50-70 min (Active time 20-30 min)

  • 1/4 cup (1/2 stick, 110g) unsalted butter, softened
  • 1 cup (220g) brown sugar
  • 3 large eggs
  • 1 teaspoon vanilla
  • 1 large apple, peeled and grated
  • 1/2 cup (115g) plain yogurt
  • splash of milk (maybe 2-3 tablespoons)
  • 1 cup (120g) all-purpose flour
  • 1 cup (120g) whole wheat flour
  • 1 1/2 teaspoons baking soda
  • 1/2 teaspoon salt
  • 1 1/2 teaspoons cinnamon
  • 1/2 teaspoon grated nutmeg
  • 1/2 teaspoon ground allspice
  • 1/2 teaspoon ground cloves
  • 3/4 cup (75g) dried cranberries or raisins

Pre-heat oven to 375F/190C.  Butter and flour an 9"/23cm square pan.

In a large bowl, cream together the butter and brown sugar.  Beat in eggs one at a time, then mix in the vanilla, yogurt, apple, and splash of milk and set aside.

In a medium bowl, whisk together the flours, baking soda, salt, and spices.  Add the dry ingredients to the bowl of wet ingredients and stir until just-mixed.  Pour into the prepared pan and bake at 375F/190C for 30-40 minutes, or until a cake tester/toothpick/piece of dry spaghetti comes out clean when inserted into the middle (check it starting at 25 minutes to be on the safe side).

Cool in the pan for 20 minutes, then tip out onto a cooling rack until room temperature and ready to frost.


Cooked Frosting
Adapted from The Pioneer Woman


Makes about 2 cups of frosting (enough for a single-layer cake and then some)
Total time: 35 minutes (Active time 20 minutes)

  • 2 1/2 tablespoons (20g) all-purpose flour
  • 1/2 cup (120mL) milk
  • 1 teaspoon vanilla
  • 1/2 cup (1 stick, 225g) unsalted butter, softened
  • 1/2 cup (100g) white granulated sugar

In a small saucepan, whisk flour and milk vigorously over medium heat until very very thick (once milk comes to a boil this happens very quickly).  Remove from the heat, stir in vanilla, and let cool to room temperature (this will take about 20 minutes or so, but you can put the pan into a bowl of ice to speed things along).
 
Cream butter and sugar until light and fluffy.  When the sugar is no longer grainy, add the cooled flour/milk/vanilla mixture and beat beat beat until it has a homogeneous texture of whipped cream (see here for great procedural photos).  This took about 2-3 minutes with an electric mixer on medium/high speed.

Frost cake as desired.  Revel in your success.

Friday, March 18, 2011

10 Non-Financial Stock Tips

I've said it before and I'll say it again: soup is my favorite thing to make for mid-week lunches and dinners.  Soups optimize the healthy/filling/cheap/delicious quadrangle better than any of my other top lunch picks, as illustrated by this handy visual aid:


Most recipes call for some sort of flavored stock base, and while the store-bought liquid usually tastes great, it will typically run you about $2.99 per liter for the good stuff.  This can seriously add up if you're putting together a brothy soup and is an unreasonable expense if the rest of your ingredients are relatively cheap.  And the unhealthy-yet-still-tasty dry powder and cubes are usually loaded with questionable ingredients like MSG (even if it's labeled otherwise) and ungodly amounts of sodium.

The best way around this, of course, is to make your own stock.  And for the most part you can do this using your cooking trash.  I like to save the plastic bags from carrots or celery to add food scraps from normal day-to-day cooking, keeping the bags in the freezer when they're not in use.  When you have about two or three full bags, you can add the frozen scraps to a large pot, fill until covered with water, add seasonings, simmer for a few hours, and you're in business.  The more soup you make, the more scraps you'll have; it makes for quite a nice little self-perpetuating cycle.

But some scraps and seasonings are more equal than others when it comes to stock flavoring.  Here are some tips from my years of trial and error for creating the cheapest, most flavorful stock that requires the least amount of work and dishes:

1.  Good food scraps

  Meat bones are great (even buffalo wing remnants!) and are sold very cheaply at the butcher counter.  Good veg include onion peels, carrot ends and skin, celery ends and wilted pieces (including the leafy center), green parts and ends of leeks, spring onions, rinsed old mushrooms, stems of fresh herbs, the peel and knobby bits from fresh ginger, garlic, and the rinds of Parmesan or other hard cheese.

2.  Bad food scraps

 Squash and citrus peels are very bitter, all cruciferous vegetables taste rancid and smell like farts when you cook them for a long time, and anything with a high water content will completely disintegrate and discolor the stock (think spinach, lettuce, tomatoes, zucchini).

Most of these ingredients make for a great soup, but do not hold up well to long cooking.  Except the citrus peels of course.  Still not sure why I thought that was a good idea.


3.  Good seasonings

A couch surfing hippie once taught me that a splash of vinegar will really extract the maximum amount of flavor from your stock.  Actually I think he referred to magic collagen juju and not flavor specifically, but according to the internet, this isn't a completely baseless idea.

Whole spices will also add great flavor to the liquid (about 1/2-1 teaspoon of each will do); for maximum benefit, smash the spices using the flat side of a knife before adding them to the pot.  I always use black peppercorns, cloves (secret stock ingredient!), and bay leaves.  Dried chiles, cinnamon sticks, fennel seed, star anise, and coriander seed are also great additions. 

4.  Bad seasonings 

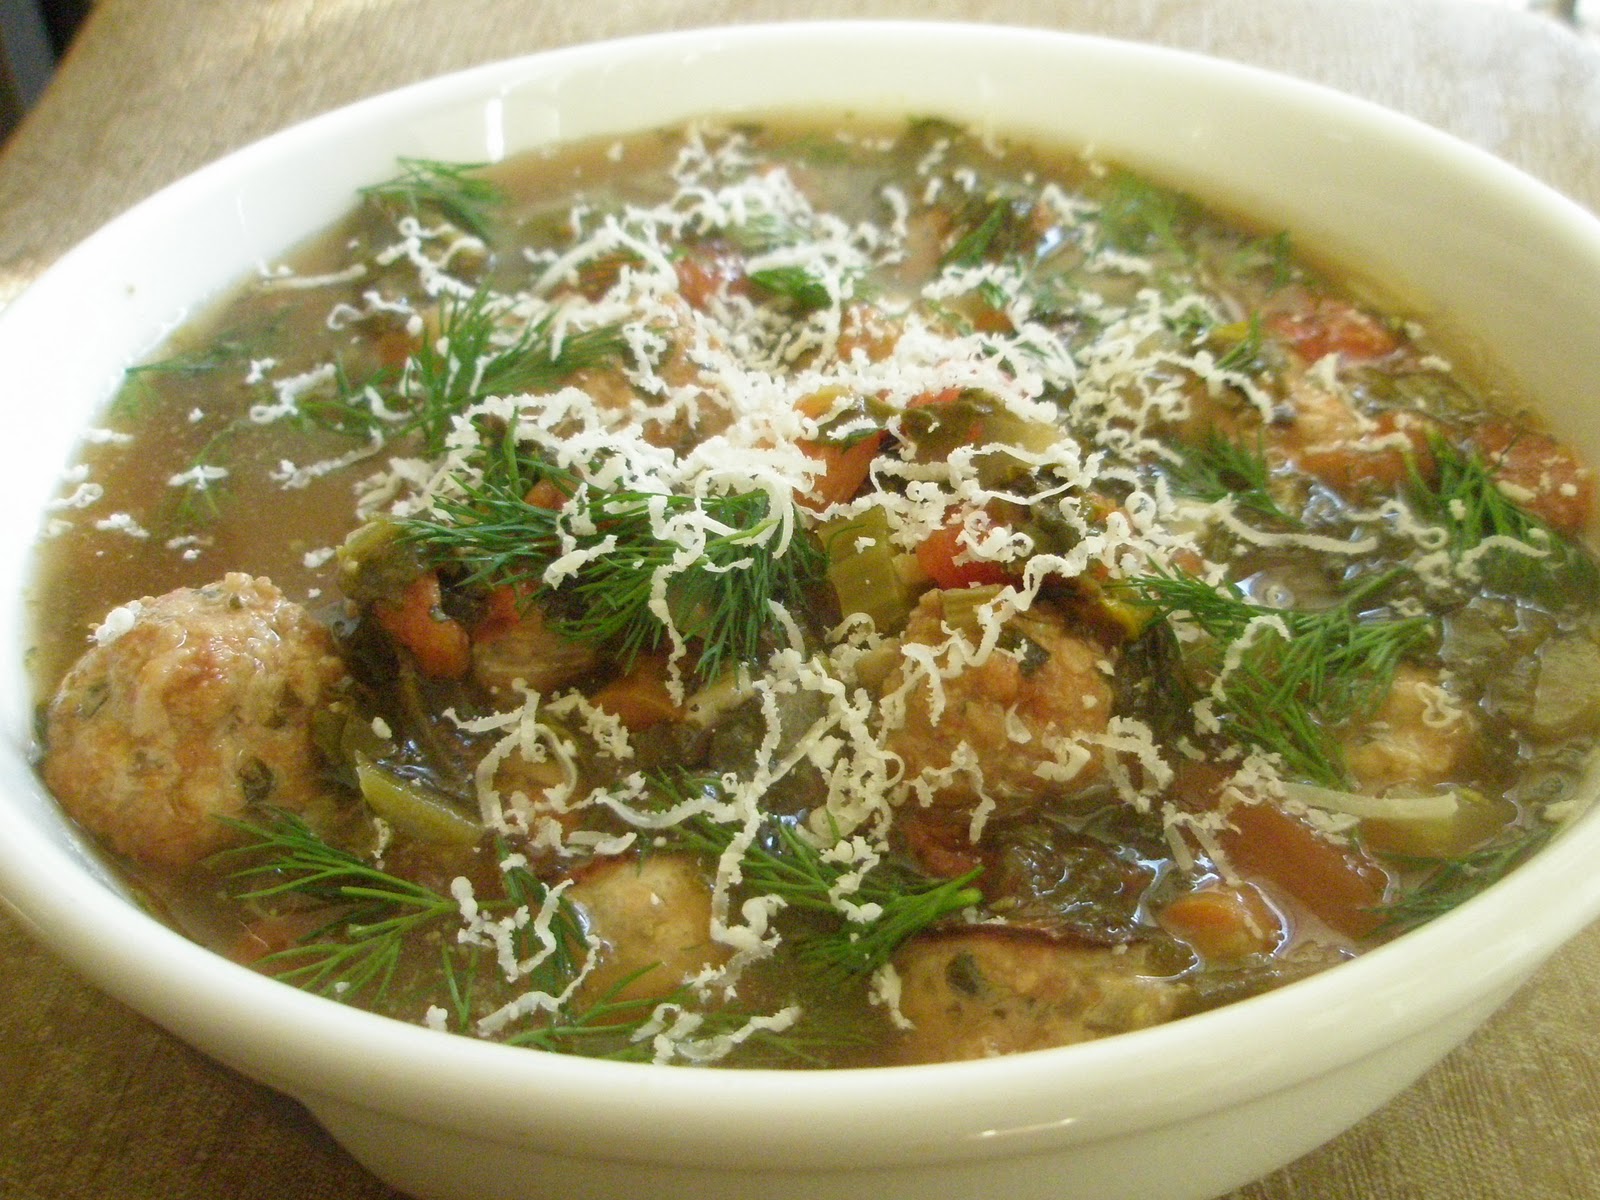
Ground spices and crumbled, dried herbs will add great flavor, but will also make your stock look dirty and give it a grittier texture since the small bits can't be filtered out unless you want to stuff around with multiple layers of cheesecloth or muslin and make a big mess.  Depending on the type of soup you want to make, this might not matter (eg. this would be fine for a thicker dark-colored soup).  I certainly agree with the Guardian: "personally, I reckon life's too short for consommés."

5.  The question of salt. 

I never add much salt to the stock itself, only to the dish I use it in, tasting as I go.  This is totally a personal preference, but I think it's much easier to control this way and you don't have to worry about the liquid over-reducing.  It's really easy to let sodium levels get completely out of hand when making soup, especially when using canned ingredients.  See Tip 10 regarding semantics and the non-necessity of preparing stock to be enjoyed on its own.

6.  Consider your end goal.  

I have made the mistake before of putting absolutely every scrap and seasoning I could find in the stock pot.  The result was something sort of bitter, sort of spicy with Asian flavors, and sort of cheesy.  Not recommended.  But some combinations that do make sense:

-All-purpose flavor base: Stick with the meat and onion/carrot/celery/leek/parsley scraps, and season with garlic, black peppercorns, whole cloves, and bay leaves.
-For a potato or cream-based soup: Add cheese rinds and fresh dill stems.
-For chili or other bean stew: Add dried chiles, coriander and cumin seeds, and fresh coriander and oregano stems.
-For braising meat: Add fennel seeds, star anise, fresh rosemary and thyme stems.
-For an Asian flavor base:  Add the hard unusable parts of lemongrass stems, dried chiles, fresh ginger peels, star anise, and fresh coriander stems.


7.  To brown or not to brown?

Some stock recipes suggest roasting or sautéing the vegetables and bones to brown them and generally develop a more complex flavor before adding water.  I'm definitely opposed to roasting on the basis that it creates another dirty dish (and cleaning roasting pans is the worst), and I'm also opposed to using fresh ingredients instead of scraps to make a broth.  Most soup recipes start off with sweating onions or some such anyway, why do it twice and why discard perfectly good vegetables?

Having tried it, I can say that the flavor difference is not measurable .  I am however intrigued by the easy-sounding German technique of slicing an onion in half and browning it before making stock.  Warrants experimentation. 

8.  Storage

The stock has to cool completely before refrigerating, so I will usually leave the covered pot out overnight to come to room temperature and strain and containerize in the morning (I've also forgotten and left veg stock out at room temperature for several days - still fine).  One-liter reused yogurt or clear takeaway containers are my favorite storage units and they conveniently hold the same amount as the cartons in the supermarket. 

I've never found a need for piddly plastic baggies or ice cube trays as recommended by some that expose the stock to the rest of your freezer's smells.  Need a quick defrost?  Microwave it for a minute to loosen the frozen cylinder and dump the rest into your soup pot.  The burner will do the work for you.

9.  Meat means more work.

Stock is a great use for your leftover carcasses from a Sunday roast, but the fattiness will add an extra step to the process since, unlike vegetable stock, you can't just strain the liquid and stick it in the freezer.  Return the strained liquid back to the pot and stick it in the refrigerator for a few hours to cool.  A white layer will solidify on the top that you can easily remove to de-fat the stock before freezing or using.  If you want to go really full circle, you can use the fat in any number of other delicious recipes.

10.  A note on semantics

The Kitchn does a great job at summing up the difference between broth and stock.  Basically broth is something that you can eat on its own with rich flavors, seasonings, and meat (not just the bones) while stock is more of a concentrated base on which to build a dish.  Many broth recipes call for fresh meats and veg which you cook to extract flavor and then discard, which, like the browned components in Tip 7, seems to me like a waste of perfectly good soup ingredients.  So use the bits you discard anyway to make stock, then add other ingredients and seasoning to finish the soup.  It's just plain efficient.


Want to give it a shot?  Here are some of my favorite stock-based recipes on the internet:

Carrot, Kumara, and Ginger Soup

Curried Split-Pea Soup

Super Delicious Zuppa Toscana

Hot and Sour Soup with Ginger

French Onion Soup

Wednesday, March 9, 2011

Sausage Rolls, Two Ways

The end of March is going to mark the first year of my Hoboken residence, and this past weekend marked my first Hoboken St. Patrick's Day.   This fake holiday is oddly celebrated 2 weeks early with a parade and, more importantly, a city-wide party commencing at 7am and lasting until everyone passes out.  I wasn't sure what to expect having read the news articles, but I guess it was everything I had imagined and more.  My apartment hosted since it is rather perfect for fake holiday revelry: far enough away from the main drag to avoid the melee, and also has a lovely backyard for grilling and other important activities to usher in spring.


In certain more idyllic places than New Jersey, it ain't a decent party unless sausage rolls make the rounds.  I internalized this philosophy because sausage rolls are a perfect pair to drinking beer outside wherever you are.  Pastry-covered delicious meat bites eaten by hand with tomato sauce/ketchup, these puppies are definitely messy but line the stomach suitably in case you are inclined to actually start drinking green beer at the crack of dawn.

Now, I didn't make the pastry from scratch, but these are still quite a bit more work than your more convenient frozen options which are available if you're lucky enough to live in a Commonwealth country.  But as is the case with most homemade treats, you'll be handsomely rewarded if you put in the time.  These sausage rolls are much more flavorful than the frozen versions and are completely customizable to any number of seasonings you might have on-hand.

The successful hostess also tries to cater to food allergies and preferences, hence the two onion-free-meat and vegetarian variations presented here.  The vegetarian one actually does taste and look remarkably like meat, who knew?

Unfortunately a successful hostess also focuses on feeding and watering guests and not on taking blog photographs.  The above scene is all that was left of the sausage rolls on Sunday, so I think that speaks for itself.


 Sausage rolls in profile, what they actually looked like.
Image via Deliaonline.com

Sage and Apple Sausage Rolls
Adapted significantly from Delia


Makes enough for a crowd
Total time: 1 hour (Active time 30-40 minutes) 
  • 1 lb (450g) sausage meat, casings removed
  • 1 lb (450g) lean ground pork
  • 2 small granny smith apples, peeled and grated (or 1 small apple and 1/2 small onion)
  • 2 cloves of garlic, grated
  • 2 teaspoons dried sage 
  • 2 tablespoons Worcestershire sauce
  • 2 teaspoons Dijon mustard
  • handful of fresh parsley, chopped
  • big pinch of salt and pepper 
  • 2 sheets puff pastry (450g), thawed 
  • beaten egg 
  • sesame seeds (optional)

Mix meat, apples, and seasonings in a large bowl until just-combined.

Roll out puff pastry on a floured surface until you have a rectangle about 12 x 16 inches (30 x 40 cm).  Cut each sheet in half lengthwise so you have two rectangles about 6 x 16 inches (15 x 40 cm).  Spoon 1/4 of the meat mixture over one edge of the pastry and brush the other side with beaten egg.  Fold pastry over the meat mixture and pat down to ensure the roll is closed; repeat with the other three sheets of pastry.  Whole rolls can be frozen at this stage in plastic wrap and thawed before continuing below.

Brush beaten egg over the top of each roll and sprinkle with sesame seeds (you will probably use about 2 tablespoons total).  Cut each roll with a sharp knife into 1/2 inch-1 inch pieces (1-2 cm) and stab the top of each a few times to let out steam.

Evenly space roll pieces on parchment paper-lined baking sheets and bake for 20-25 minutes at 400F (200C) until browned; you will need more than one sheet.

Unbaked rolls can be refrigerated layered on wax paper in containers overnight, or flash-frozen on the parchment paper for one hour, then transferred to plastic bags.


Image via smallmagazine.typepad.com

Vegetarian Sausage Rolls
Adapted from smallmagazine

Makes enough for a crowd
Total time: 70 minutes or so (Active time 40-50 minutes)

  • 3 eggs
  • 2/3 cup (80g) roughly chopped nuts (I used half walnuts, half pecans)
  • 1 cup (80g) rolled oats
  • 1 medium onion, roughly chopped
  • 1 clove garlic, roughly chopped
  • 1 cup (250g) cottage cheese
  • 2 tablespoons soy sauce
  • handful of fresh parsley, chopped
  • 2/3 cup (55g) breadcrumbs
  • 1 cup (115g) shredded cheddar cheese
  • 2 sheets (450g) puff pastry, thawed
  • beaten egg
  • sesame seeds (optional)

Combine 3 eggs, nuts, oats, onion, garlic, cottage cheese, and soy sauce in the base of a food processor.  Process until well-mixed, about 1 minute or so.  Transfer mixture to a large bowl and stir in breadcrumbs and parsley.

Roll out puff pastry on a floured surface until you have a rectangle about 12 x 16 inches (30 x 40 cm).  Cut each sheet in half lengthwise so you have two rectangles about 6 x 16 inches (15 x 40 cm).  Spoon 1/4 of the mixture over one edge of the pastry and top with 1/4 cup of cheese.  Brush the other side of the pastry with beaten egg and roll over the oats mixture.  Pat down to ensure the roll is closed and repeat with the other three sheets of pastry.  Whole rolls can be frozen at this stage in plastic wrap and thawed before continuing below.

Brush beaten egg over the top of each roll and sprinkle with sesame seeds, if using (you will probably use about 2 tablespoons total).  Cut each roll with a sharp knife into 1/2 inch-1 inch pieces (1-2cm) and stab the top of each a few times to let out steam.

Evenly space roll pieces on parchment paper-lined baking sheets and bake for 20 minutes at 350F (180C); you will need more than one sheet.

Unbaked rolls can be refrigerated layered on wax paper in containers for a few days, or flash-frozen on the parchment paper for one hour, then transferred to plastic bags.

Wednesday, March 2, 2011

Marginally Healthier/Completely Bastardized Italian Wedding Soup


I've been having some serious meatball cravings lately, but the weather is giving me the nagging sense that beach season is not that far away after all.  And unfortunately, the ideal way to eat meatballs is soaked with a luscious, rich tomato sauce and nestled in spaghetti or a soft white roll, covered in cheese.

I tried to capture the most awesome flavorful qualities in the meatballs, but presented on a healthier platform of soup and made 100% with things I had in the freezer/pantry.  Italian wedding soup is the clear go-to for this type of dish, but most versions are too brothy, salty, or filled with overcooked gobs of tiny pasta.  I hemmed and hawed for awhile about adding another starch here, but by the time the meatballs were in the vegetable base, it was thick enough already (though I still want to try a version with lentils).

The most ironic part of this endeavor is that the recipe closest to what I wanted was Ina Garten's.  I had ground turkey on hand so had to tweak the meat and stock ingredients quite a bit to add more flavor, but I really liked the idea of baking the meatballs instead of frying.  It takes a lot less effort since you don't need to stand over the stove and also some of the fat bakes out so you're not left with an overly slick soup.

I also added some diced tomatoes in a last ditch effort to channel the meatball subs of my dreams.  This makes a great filling lunch and, if anything, is certainly a lot less messy to eat at work than a traditional Italian dinner.


Marginally Healthier Italian Wedding Soup
Adapted from Ina Garten

Serves 6-8
Total time: 1 hour (Active time 45 minutes)

  • 1.25 pounds (550g) lean ground turkey 
  • 2/3 cup bread crumbs
  • 2 cloves of garlic, grated
  • 1/2 small onion, finely diced
  • handful of parsley leaves, chopped
  • 1/2 cup (2 oz/50g) freshly grated hard cheese (I used pecorino romano)
  • 2 teaspoons dried sage (optional, thyme/basil/oregano would also be good)
  • 1 large egg beaten with a splash of milk
  • 1 tablespoon Worcestershire sauce
  • 1 teaspoon Dijon mustard
  • big pinch of salt, ground pepper

  • 1 tablespoon olive oil
  • 1 large onion, diced
  • 2 large carrots, diced
  • 3 stalks of celery, diced
  • 1 clove of garlic, grated
  • 1 bay leaf
  • 1 teaspoon dried basil
  • 1 teaspoon dried oregano
  • splash of white wine
  • 28 oz (800g) can of diced tomatoes in juice
  • 10 oz (280g) brick of frozen spinach, thawed in the microwave
  • 4 cups/1L vegetable broth (cubes are fine, but homemade is better)
  • 4-6 cups/1-1.5L water
  • fresh chopped dill, crushed red pepper, grated hard cheese (for serving)

Preheat oven to 350F/180C and line two baking sheets with parchment paper.  Add first set of ingredients in a large bowl and mix gently with your hands (or a spoon but this takes longer).  Form meat mixture into small balls about 1/2"/1cm in diameter (roundness is not crucial here); you should have about 60-70 total.  Bake for 15-20 minutes until lightly browned.

While meatballs are baking, heat olive oil in a large pot and saute onion, carrot, and celery until softened (about 5-7 minutes).  Add garlic, herbs, and a splash of white wine and cook for an additional minute or two while you get the liquid ingredients ready.  Add tomatoes and their juice, spinach, vegetable broth, and 4 cups/1L water and heat to a simmer.

Add meatballs when they are finished baking and heat through.  If too thick for your liking, add an additional 2 cups of water.  Taste and re-season if necessary with salt and pepper.  Serve with chopped dill, red pepper, and cheese, if using.